'/%3e%3cpath%20id='cross_2'%20data-name='cross%202'%20class='cls-2'%20d='M20.612,30.43h0a5.361,5.361,0,1,0-10.723,0H0A33.709,33.709,0,0,1,30.569,0V9.75a5.361,5.361,0,1,1,0,10.723V30.43Z'%20transform='translate(67.193%200.007)%20rotate(90)'/%3e%3cpath%20id='cross_3'%20data-name='cross%203'%20class='cls-3'%20d='M20.612,30.43h0a5.361,5.361,0,1,0-10.723,0H0A33.709,33.709,0,0,1,30.569,0V9.75a5.361,5.361,0,1,1,0,10.723V30.43Z'%20transform='translate(67.186%2067.041)%20rotate(180)'/%3e%3cpath%20id='cross_4'%20data-name='cross%204'%20class='cls-4'%20d='M20.6,30.5h0a5.361,5.361,0,1,0-10.723,0H0A33.71,33.71,0,0,1,30.56,0V9.818a5.361,5.361,0,1,1,0,10.723V30.5Z'%20transform='translate(0%2067.041)%20rotate(-90)'/%3e%3c/svg%3e)
Chat
You can chat in real time with other users connected to the workspace, as well as with AI. You can talk with your team directly inside the workspace without installing a separate internal messenger.
Before You Start
- Required permission: At or above the minimum chat write level set by the administrator
- Administrator setting: Enable team chat must be turned on in Community Space Settings.
Enabling Chat
Click the chat icon at the top. The chat window appears on the right side of the screen.
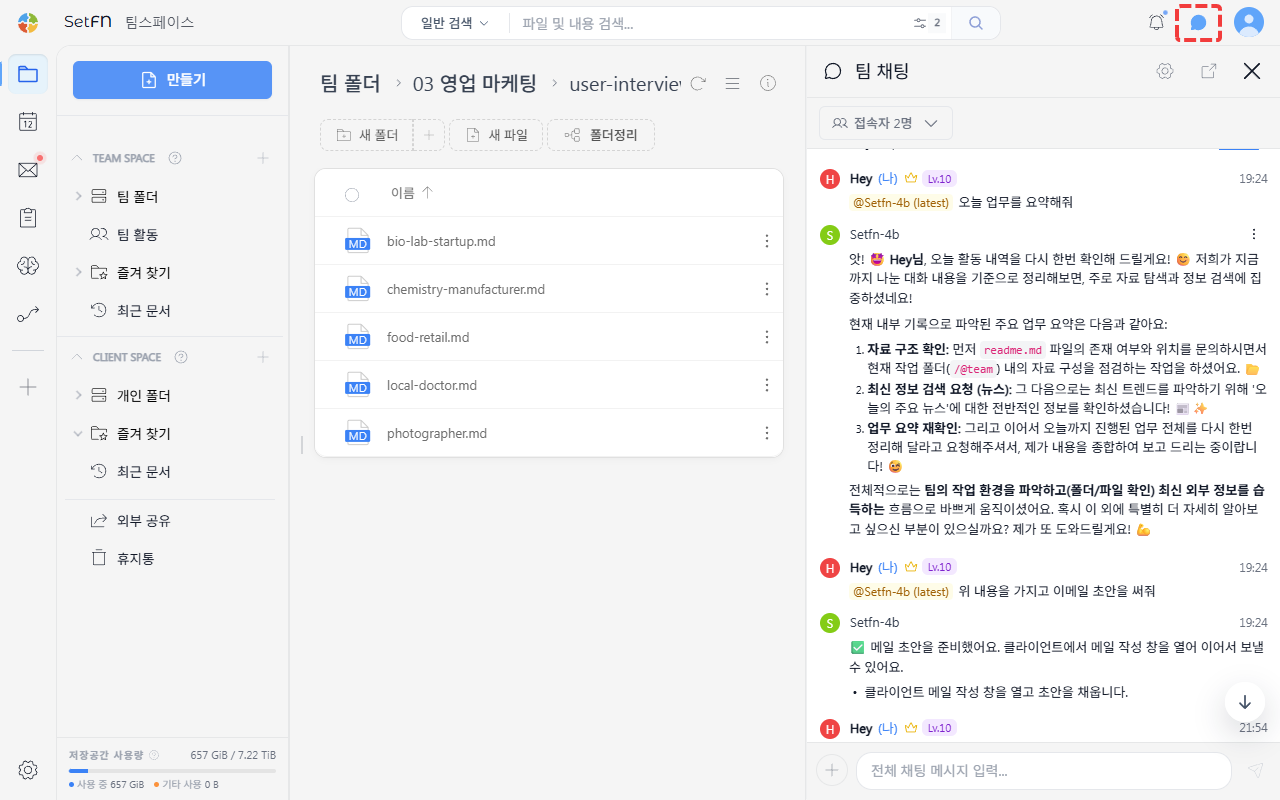
Chat Types
- All-team chat: A chat that everyone participates in together.
- Group chat: A chat with several people together.
- 1:1 chat: Click a user's nickname in the chat window to message them individually.
Creating a Group Chat Room
- Click
Chat-Add Room.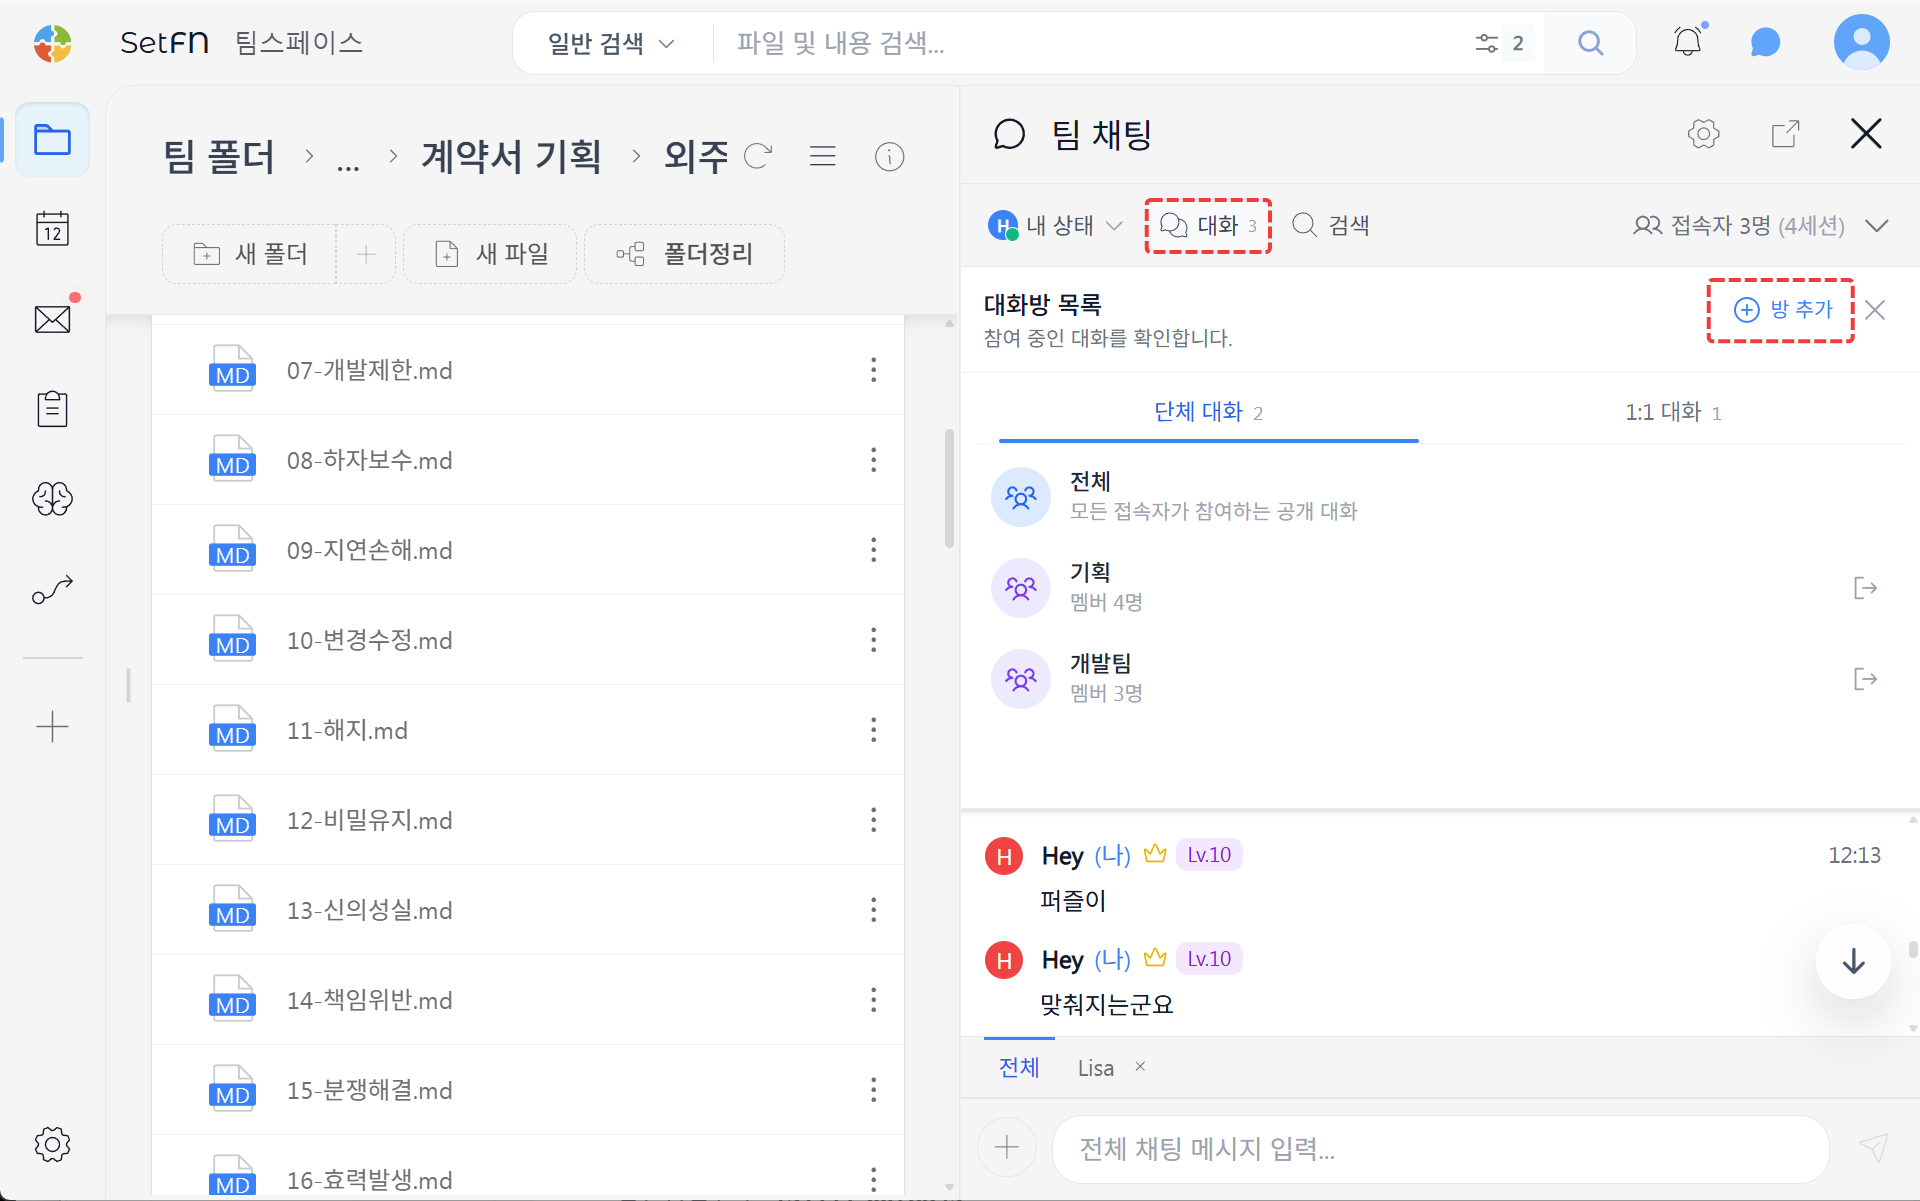
- Click the people you want to add to the room, enter a room name, then click the
Create Group Chatbutton to create the room.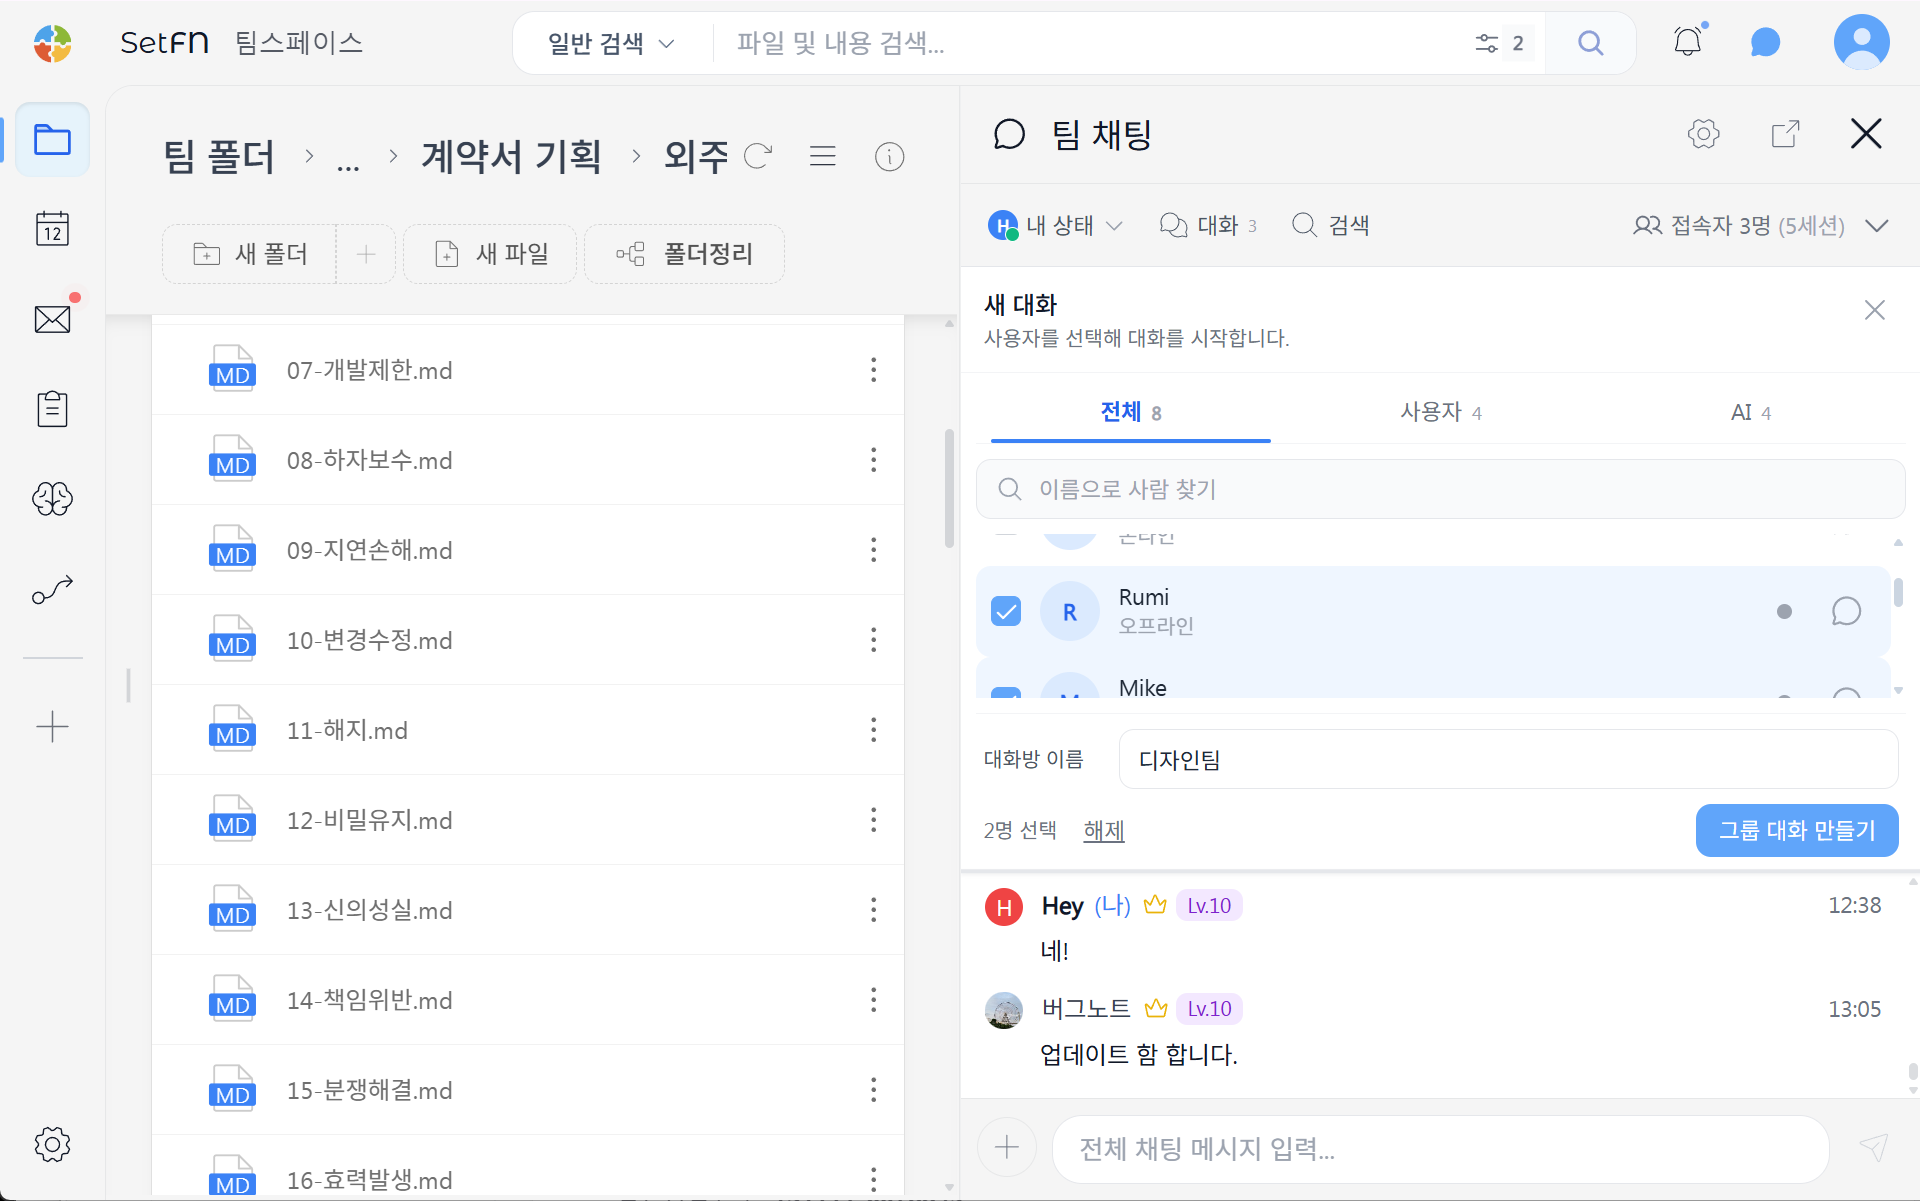
Once the room is created, all participants can exchange messages together. The current number of participants is shown at the top right of the chat window.
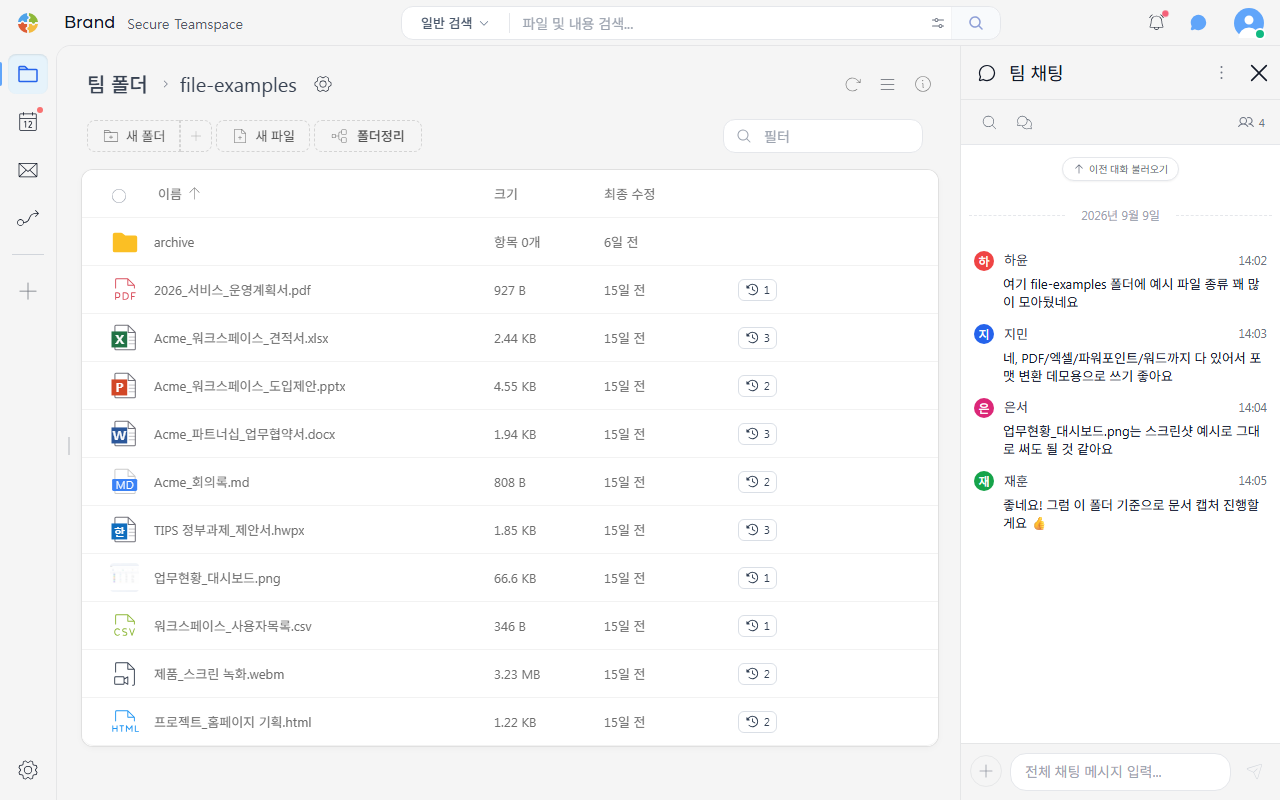
If the administrator has enabled the AI chat feature, you can also converse with AI.
Adjusting the Chat Window Position
Click the icon at the top of the chat window to adjust its position.
- Sidebar chat: Communicate while viewing the file list on the right of the screen
- Pop-out chat: Detach into a separate window so you can view it alongside a file at the same time
Changing Your Status
Click My Status to change your status.
Choose one of Online, Busy, Away, or Offline.
Searching Chat
Use Chat - Search to find previous messages by name, content, or date, and see the surrounding context. For details, see Chat Search.
Pasting Files into Chat
You can drag and drop a file into the chat window.
- Pasting a file from within the workspace shows it as a link in the chat window. Clicking the link jumps directly to that file's location.
- Pasting a file from your PC uploads it as an attachment. The location where attachments are stored can be set in Upload Location Settings.
Options and Settings
Click the ⚙️ icon in the chat window to open settings.
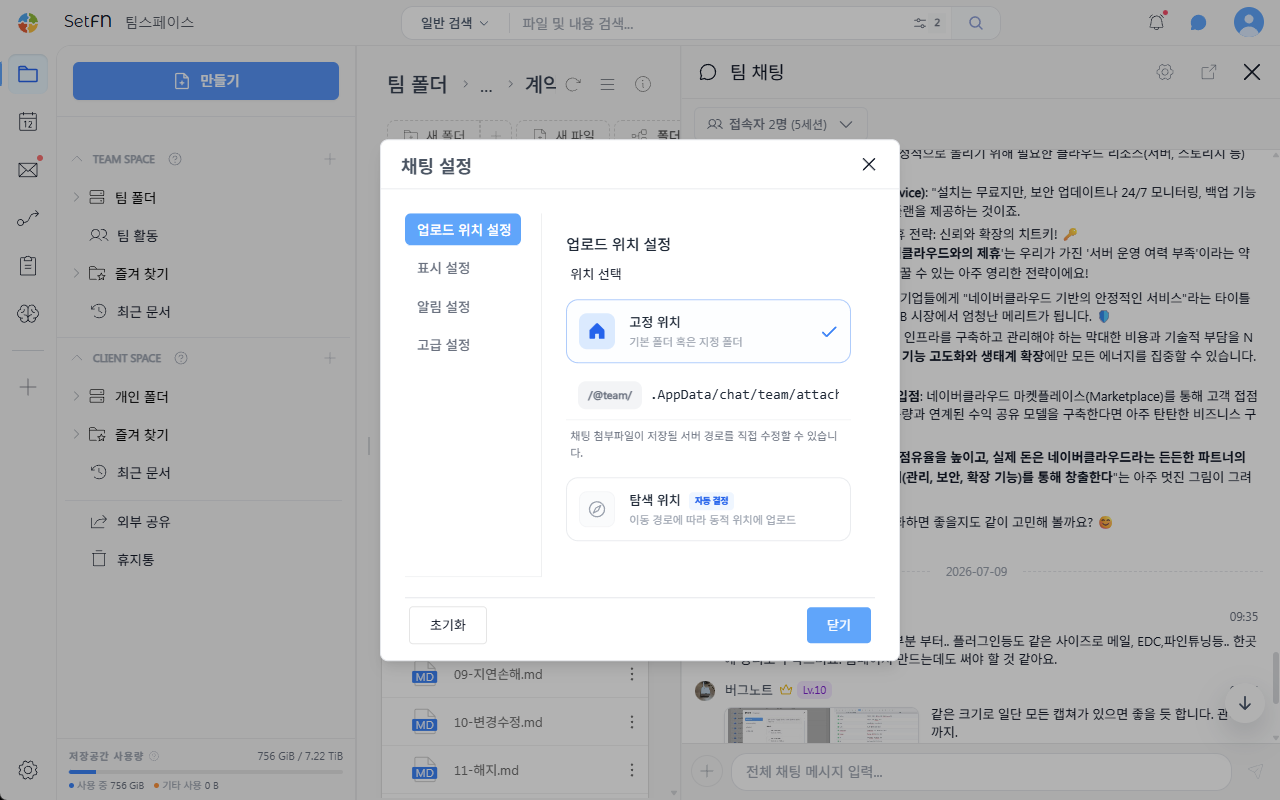
Upload Location Settings
Specify where files (images, documents, etc.) attached in chat are stored.
| Item | Description |
|---|---|
| Fixed location | Saves to a folder pre-set by the system. You can change it by entering a folder name directly. |
| Browsing location | Saves to the folder you're currently in (viewing). |
Display Settings
| Item | Description | Default |
|---|---|---|
| Show avatar | Whether to show profile images in chat | ON |
| Font size | Adjusts the chat text size | Default |
Notification Settings
| Item | Description | Default |
|---|---|---|
| Use browser notifications | Show a browser notification when a new message arrives | ON |
| Notification sound | Play a sound when a new message arrives | OFF |
| Join/leave notifications | Show a notification when another user connects/disconnects | ON |
| File activity notifications | Show a notification when file activity occurs | ON |
| Schedule activity notifications | Show a notification when schedule (calendar) activity occurs | ON |
Advanced Settings
| Item | Description | Default |
|---|---|---|
| Maximum messages displayed | The number of messages loaded into the chat window at once (100–1000). A larger value may slow down loading. | 300 |