'/%3e%3cpath%20id='cross_2'%20data-name='cross%202'%20class='cls-2'%20d='M20.612,30.43h0a5.361,5.361,0,1,0-10.723,0H0A33.709,33.709,0,0,1,30.569,0V9.75a5.361,5.361,0,1,1,0,10.723V30.43Z'%20transform='translate(67.193%200.007)%20rotate(90)'/%3e%3cpath%20id='cross_3'%20data-name='cross%203'%20class='cls-3'%20d='M20.612,30.43h0a5.361,5.361,0,1,0-10.723,0H0A33.709,33.709,0,0,1,30.569,0V9.75a5.361,5.361,0,1,1,0,10.723V30.43Z'%20transform='translate(67.186%2067.041)%20rotate(180)'/%3e%3cpath%20id='cross_4'%20data-name='cross%204'%20class='cls-4'%20d='M20.6,30.5h0a5.361,5.361,0,1,0-10.723,0H0A33.71,33.71,0,0,1,30.56,0V9.818a5.361,5.361,0,1,1,0,10.723V30.5Z'%20transform='translate(0%2067.041)%20rotate(-90)'/%3e%3c/svg%3e)
Checking the Frontend Sample
Building the API automatically generates a sample frontend folder and files in your workspace. You can use this output as-is, or refine it into a screen tailored to your team with the help of AI.
Sample frontend folder
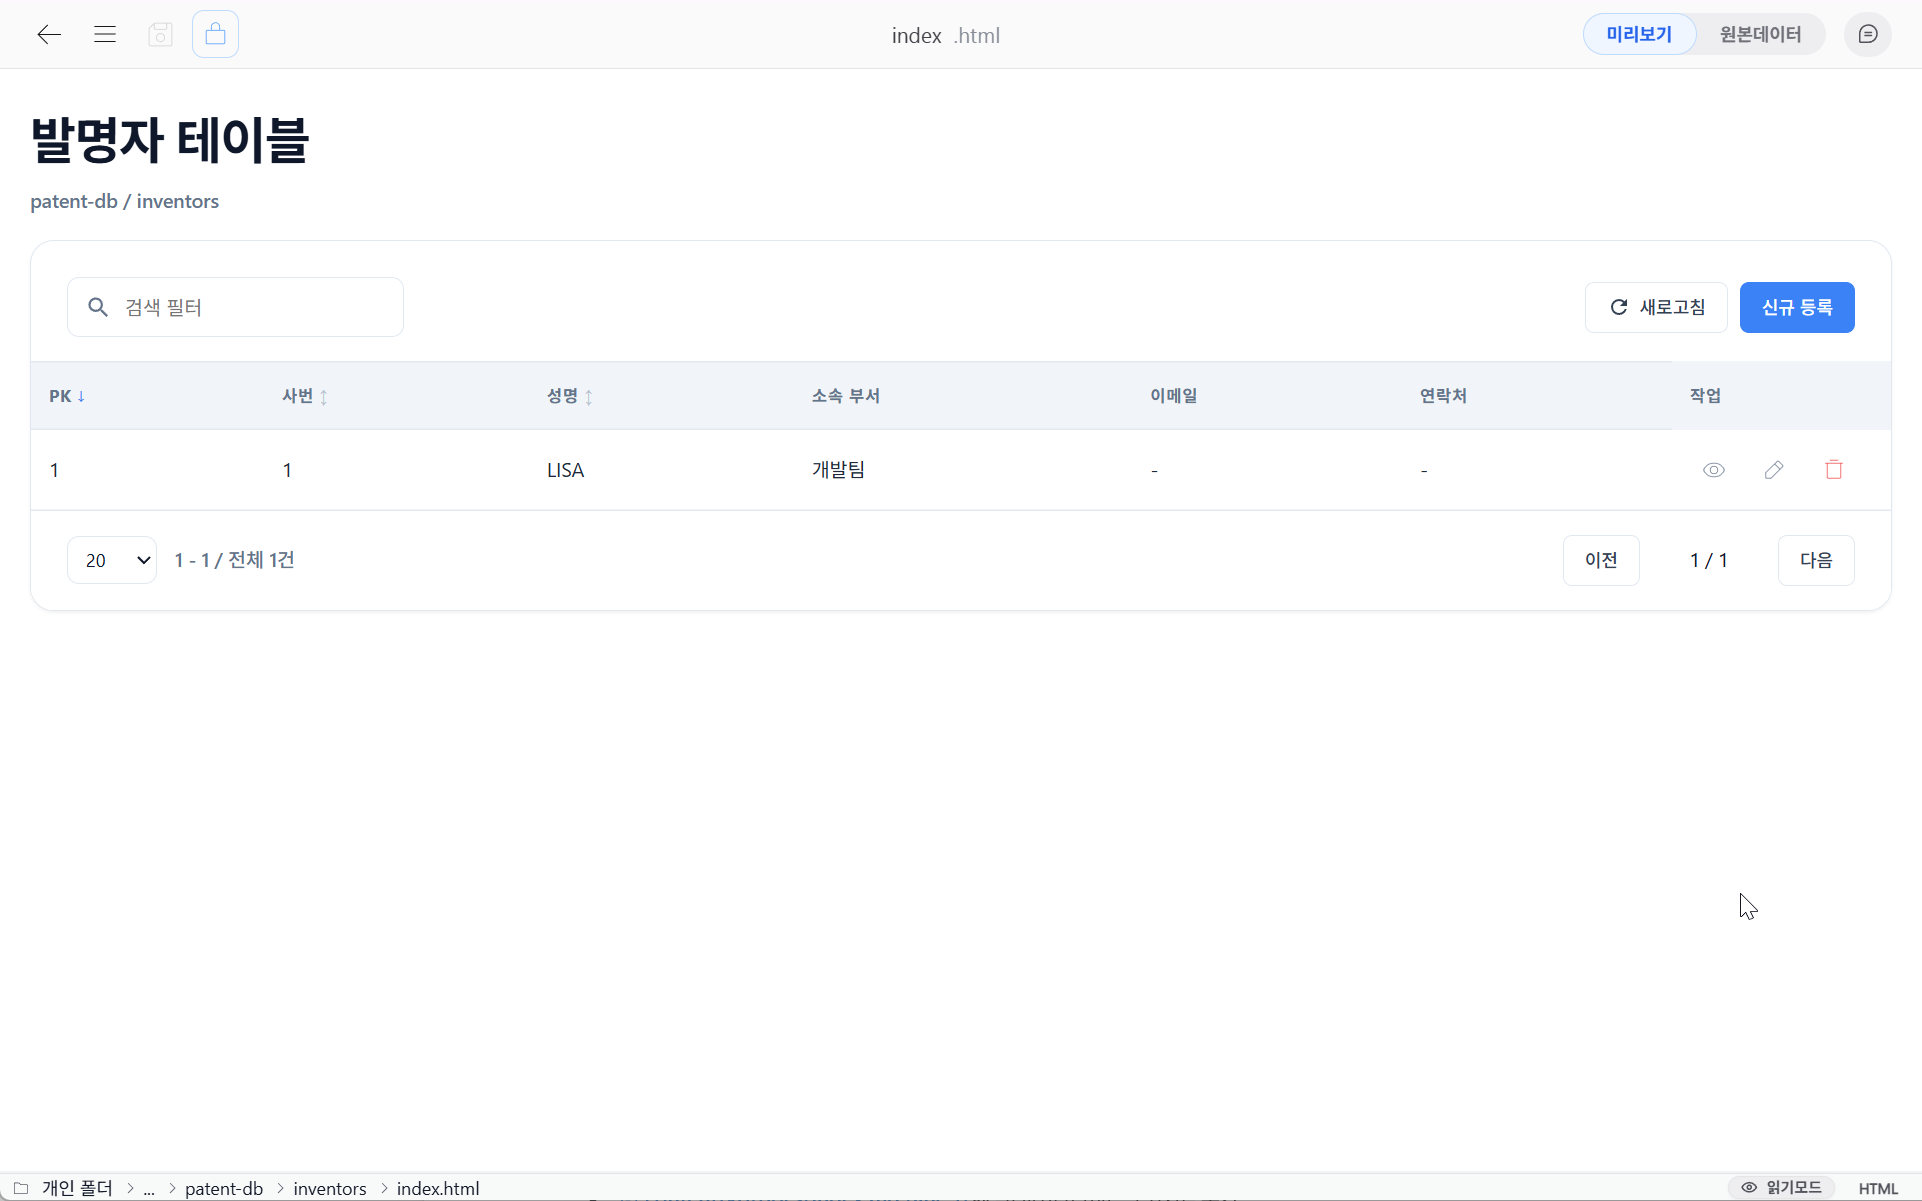
index.html — Initial screen
A basic CRUD screen that handles listing, viewing details, creating, updating, and deleting all in one screen. It comes with style.css already applied, so it's provided as a ready-to-use, complete form.
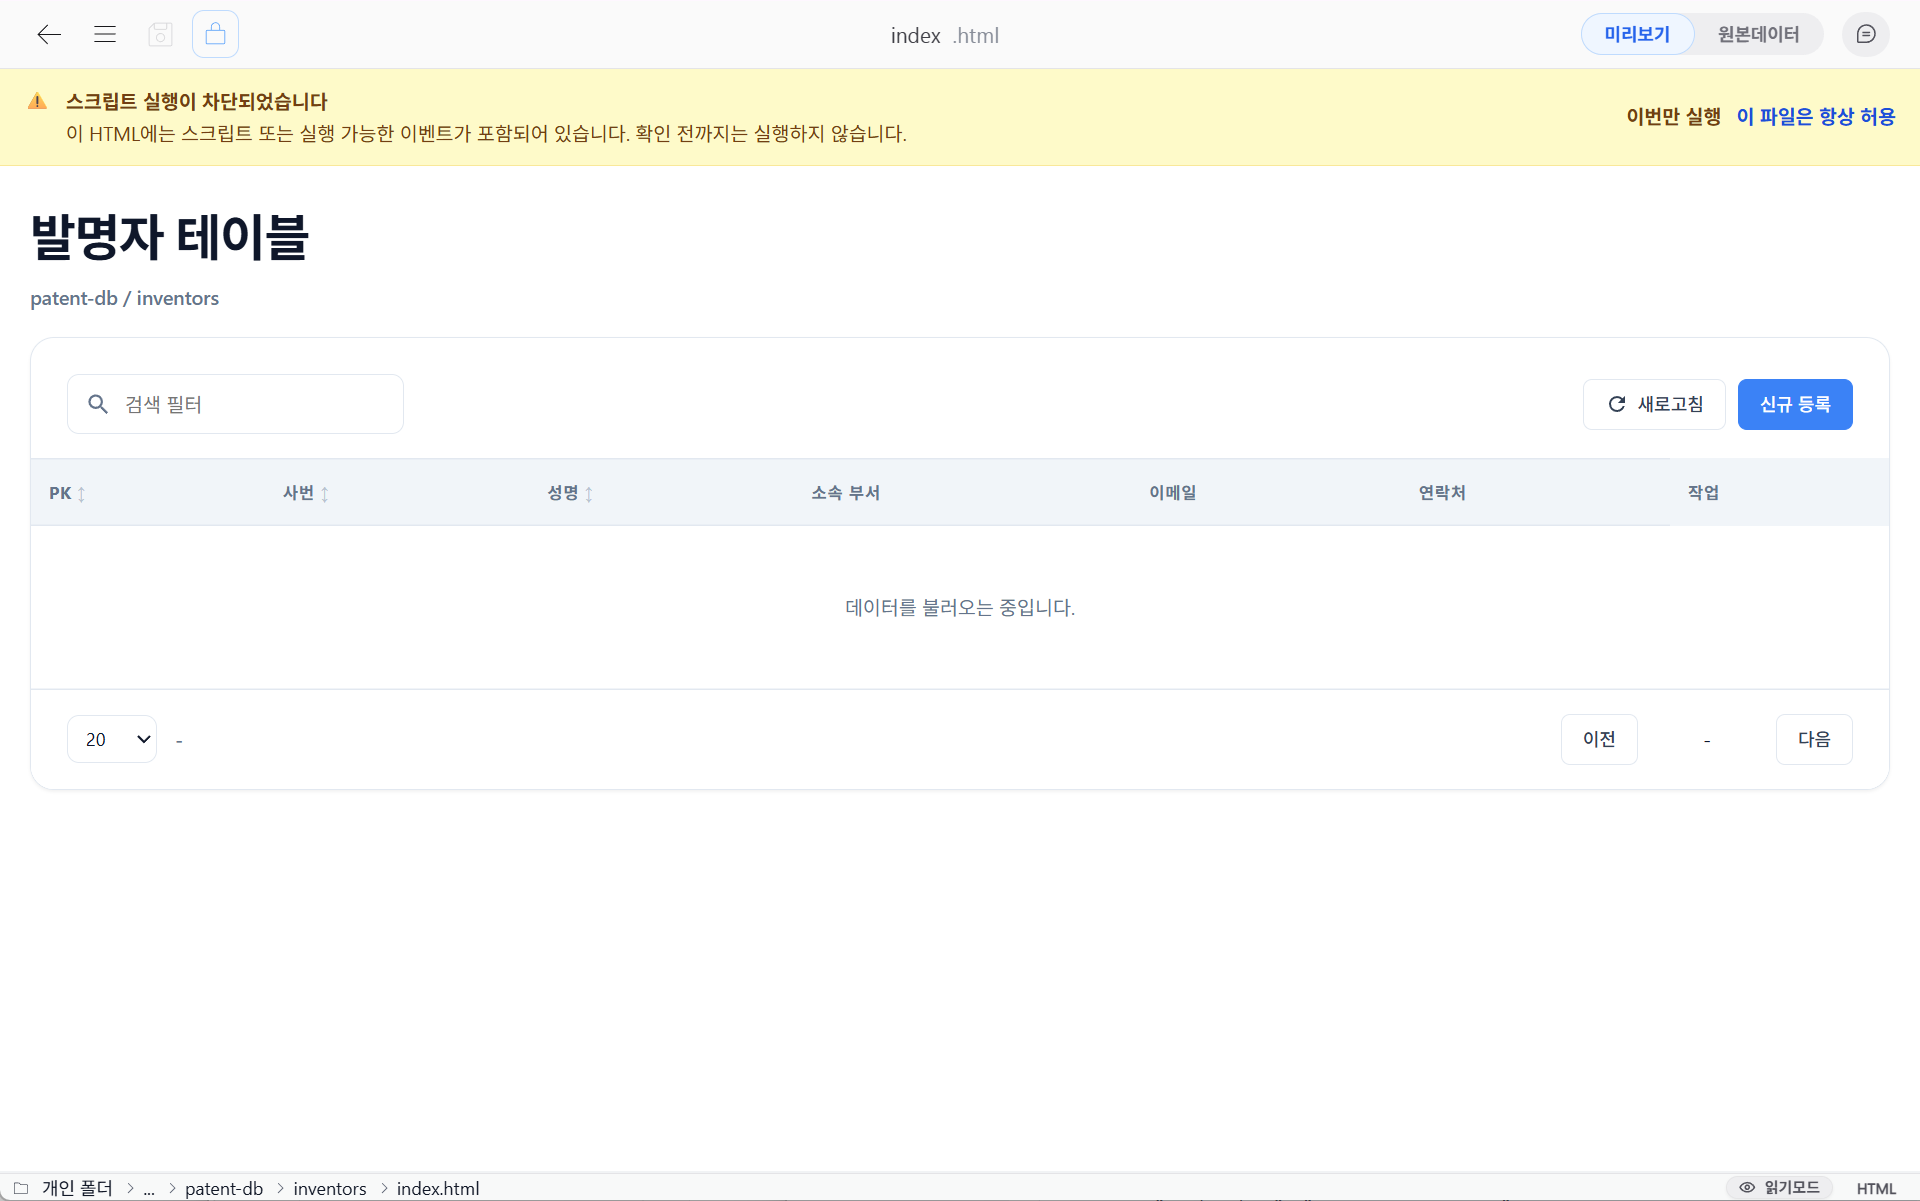
If the workspace blocks scripts, you can enable them by clicking
**Always allow this file**.
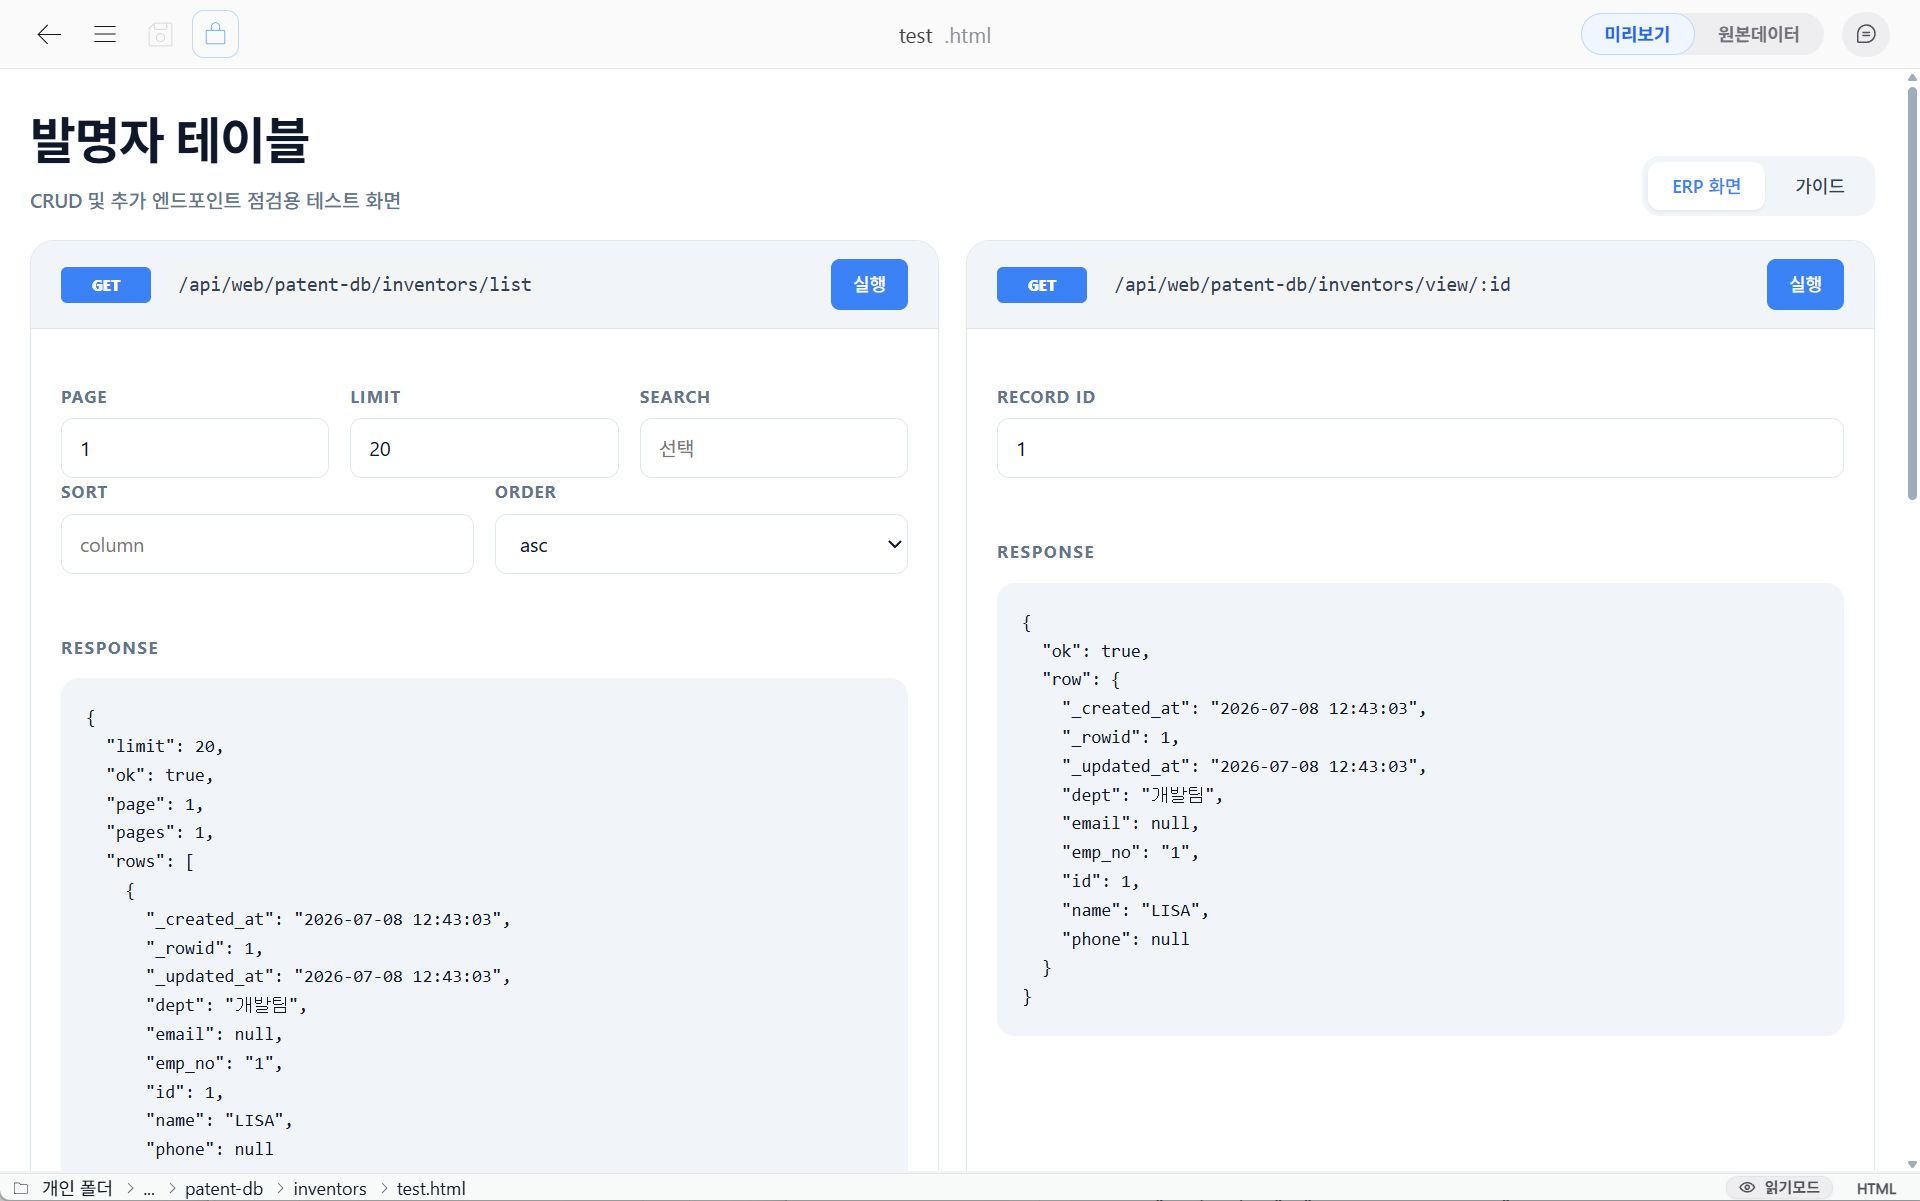
test.html — API test screen
Like Swagger, Postman, or Insomnia, this is a test screen where you can call the automatically generated API directly and check the response.
style.css / README.md
| File | Purpose |
|---|---|
style.css | Common styling for the sample screens. |
README.md | A document explaining how to use the API. It covers the default endpoints, the list/input form column layout, and the request/response fields and record schema for each API. |
By modifying
index.htmlandstyle.cssas you like, you can turn the automatically generated default screen into a website tailored to your team.
Refining index.html with AI
Since README.md contains a detailed breakdown of the table structure and API spec, you can hand this file directly to an AI (Claude, ChatGPT, etc.) and immediately request logic or design changes to index.html without any additional explanation.
- Copy the contents of
README.mdand pass them to the AI. - Describe the screen layout or design you want. (e.g., "Show the list as cards, and use different colors depending on the status value")
- Overwrite the
index.htmlin the same folder with the version the AI revised for you. - Use
test.htmlto verify the API behavior again.
Using the finished screen
Once you've refined index.html into a system tailored to your team, you can use it in two ways.
| Method | Description |
|---|---|
| Internal team use | Open it with Folder web view inside the workspace folder, and use it as an internal data management screen with your team members. → Building an internal team web service |
| Public external use | Deploy it via WebSpace and use it as a service screen exposed to the public. → Building an external web service |