'/%3e%3cpath%20id='cross_2'%20data-name='cross%202'%20class='cls-2'%20d='M20.612,30.43h0a5.361,5.361,0,1,0-10.723,0H0A33.709,33.709,0,0,1,30.569,0V9.75a5.361,5.361,0,1,1,0,10.723V30.43Z'%20transform='translate(67.193%200.007)%20rotate(90)'/%3e%3cpath%20id='cross_3'%20data-name='cross%203'%20class='cls-3'%20d='M20.612,30.43h0a5.361,5.361,0,1,0-10.723,0H0A33.709,33.709,0,0,1,30.569,0V9.75a5.361,5.361,0,1,1,0,10.723V30.43Z'%20transform='translate(67.186%2067.041)%20rotate(180)'/%3e%3cpath%20id='cross_4'%20data-name='cross%204'%20class='cls-4'%20d='M20.6,30.5h0a5.361,5.361,0,1,0-10.723,0H0A33.71,33.71,0,0,1,30.56,0V9.818a5.361,5.361,0,1,1,0,10.723V30.5Z'%20transform='translate(0%2067.041)%20rotate(-90)'/%3e%3c/svg%3e)
Manage the MCP Server
An MCP server is a server that lets external AI clients such as Codex and Claude Code call workspace features—files, search, team activity, and more—in a standardized way.
Before you begin
- Required permission: administrator
- Identify the member, actions, spaces, and folder paths that the connection key should allow.
- Review what data may be sent to the external AI provider.
Open the MCP settings
- Open the administrator page.
- Select
AI Services>Tools & Integrations. - Expand
MCP Server.
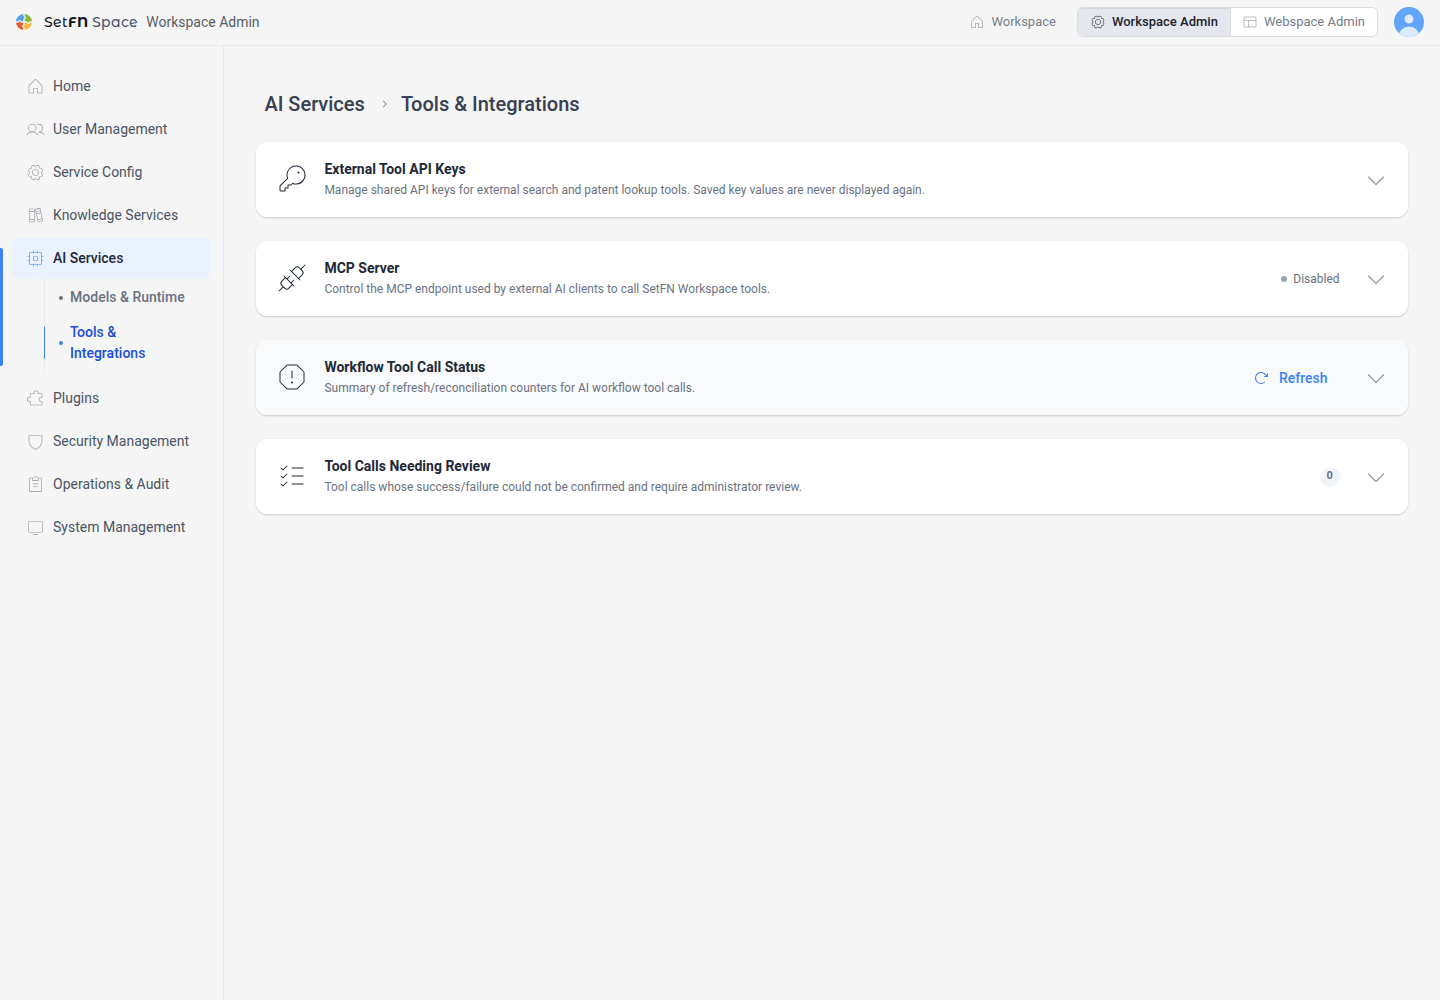
Management happens in two stages. First, the administrator defines the maximum scope allowed across the organization. Each connection key for a member then receives a narrower set of actions, spaces, and paths.
1. Organization-Wide Feature Settings
Define the maximum allowed scope that applies to all external AI connections. Features not allowed here cannot be enabled by users on their individual keys either.
| Allowed Tool | Description | Count |
|---|---|---|
| Basic information | Checks the current location, time, and task approval status. | 3 |
| Read files | Views folder and file contents. | 5 |
| File/document search | Finds material by file name or document content. | 2 |
| Team information | Looks up team conversations and activity history. Related content may be sent to the external AI provider. | 2 |
| Change files/folders | Creates, edits, and moves files and folders. | 5 |
| Trash | Moves approved files to a recoverable trash. Folders are not supported. | 1 |
Each allowed tool consists of the following detailed features (tools).
Basic Information
- Check task approval status (
getApprovalStatus): Checks whether a change task is allowed to proceed · a required tool for the approval flow - Check current location (
getCurrentPath): Checks the currently viewed virtual folder location - Check current time (
getCurrentTime): Checks the server's current date and time
Read Files
- View folder contents (
listResources): Checks the files and subfolders within a folder - Read file (
readFile): Reads file contents or gets the download address for a large file - Read large text file (
readTextFileRange): Reads a large text file in parts - View favorites (
listFavoriteResources): Checks documents registered as favorites - View recent documents (
listRecentResources): Checks recently opened documents
File/Document Search
- Find files (
internalFindFiles): Finds files by name or file type - Search document content (
internalSearchContent): Quickly searches for content within documents
Team Information
- Search team conversations (
searchChat): Finds content within team conversations you can view - Check team activity history (
getAuditLogs): Checks the task history of teams you can view
Change Files/Folders
- Apply a partial text edit (
applyPatch): Edits only the necessary parts of text so it doesn't conflict with other changes - Create folder (
createFolder): Creates a new folder - Create file (
createFile): Creates a new file - Update file content (
updateFile): Edits the content of an existing file - Move file/folder (
moveFile): Moves the location of a file or folder
Trash
- Move file to trash: Moves a file to trash after approval
You can adjust all tools at once with Select All/Deselect All, or configure them individually per tool. After configuring, click the Save button.
2. External AI connection keys for members
Under External AI Connection Keys for Members, an administrator selects a member and issues a key for a specific purpose. The key cannot allow actions or spaces beyond the organization policy or that member's existing permissions. Select Issue Key to create a key.
When issuing a key, you can configure the following.
| Item | Description |
|---|---|
| Member | Specifies the user account that connects with this key. |
| Key name | Identifies the purpose of the key. |
| Expiration date | Specifies the period during which this key is valid. |
| Allowed task scope | Narrows down which of the organization's allowed tools this key can actually use. |
| Space | Specifies the team folder or personal folder this key can access. |
| Path | Specifies the folder path allowed for access. |
After issuance, the original key, MCP endpoint, and CLI setup command are provided together. The original key is shown only once, so save it in a secure location immediately.
MCP endpoint: https://my-company.setfn.me/api/mcp
First, set the issued key as the SETFN_MCP_TOKEN environment variable, then register it using the command appropriate for the client you're using.
# Codex CLI
codex mcp add setfn --url "https://my-company.setfn.me/api/mcp" --bearer-token-env-var SETFN_MCP_TOKEN
# Claude Code
claude mcp add --transport http setfn "https://my-company.setfn.me/api/mcp" --header "Authorization: Bearer $SETFN_MCP_TOKEN"
You can use the Copy CLI Setup button to copy the above configuration as-is. Once registered this way, whether it's Codex or another MCP client, it can immediately call workspace features within the permission scope of the issued key.
Even after issuing a key, you can rotate or revoke it at any time.
| Action | Meaning |
|---|---|
| Rotate | Invalidates the existing key and issues a new key with the same configuration (permissions, space, path). This is a safe way to replace a key that may have been exposed, without breaking the integration. |
| Revoke | Immediately invalidates the key. No further requests can be authenticated with this key. |
When you rotate a key, you must also update the SETFN_MCP_TOKEN value and the key registered with the client to the newly issued value.
Security Precautions
- We recommend not exposing the MCP endpoint directly to the outside. If external integration is required, apply HTTPS, authentication tokens, IP restrictions, and permission scope limits, and restrict callable tools to only the necessary scope.
- In particular, it is safer to use MCP servers connected to high-impact tools—such as file access, code execution, sending email, or running workflows—only from an internal network or a trusted network.